
Reinstalling the trim in my 1st floor hall, I mean.
After all, it's been down and the space has been looking scabby since September of 2008. On summer evenings these past four years, every time I've hung out with the neighbors on their front porch, I've looked through my hall window and been faced with the busted plaster that should be concealed behind the trim. And I've thought, "Damn! I can hardly wait till I can get that woodwork shellacked and back up. It sure looks like hell from here."
But like Martha in the Gospels I've been worried and distracted lately by many things and tired out by the flu and now that the time has come for me to remount the hallway trim, I'm not that enthusiastic about it. But my intellect tells me it needs done and urges that I may feel better about things if the house is neat and assembled and orderly. So here I go.
All this is to explain that each day I do what I'm up to doing, and when I get tired or feel like I'm about to scream, I stop. Which may be all that can be expected, when I've already spent the bulk of the day substitute teaching. Which cannot be stopped when one gets tired or feels ready to scream.
So, the thrilling and breakneck progress since Tuesday:
Wednesday, the big deal was to redo the switch to the outside light, the one over the front door. The switch is cut into the jamb trim on the lefthand side of the doorway to the front room. I'd been subjecting the previous owners--whichever one it was-- to direst obloquy because obviously they'd failed to install the switch in an electrical box, nor did they use a wire nut to secure the two neutral wires, the style of switch not having screws to fasten those into. Instead, everything was wrapped with electrical tape. How foolish and dangerous!
 |
| No box, no wire nut-- tsk, tsk |
 |
| Back together and boxed |
Don't know what became of the original box. I utilized one I bought for another location and didn't use. Used the original switch, since it's more solid than the flimsy modern one I thought to replace it with. It's all back together, the outdoor light lights, the jamb trim and the lintel are nailed back up, it's all fine. Previous owners, my apologies.
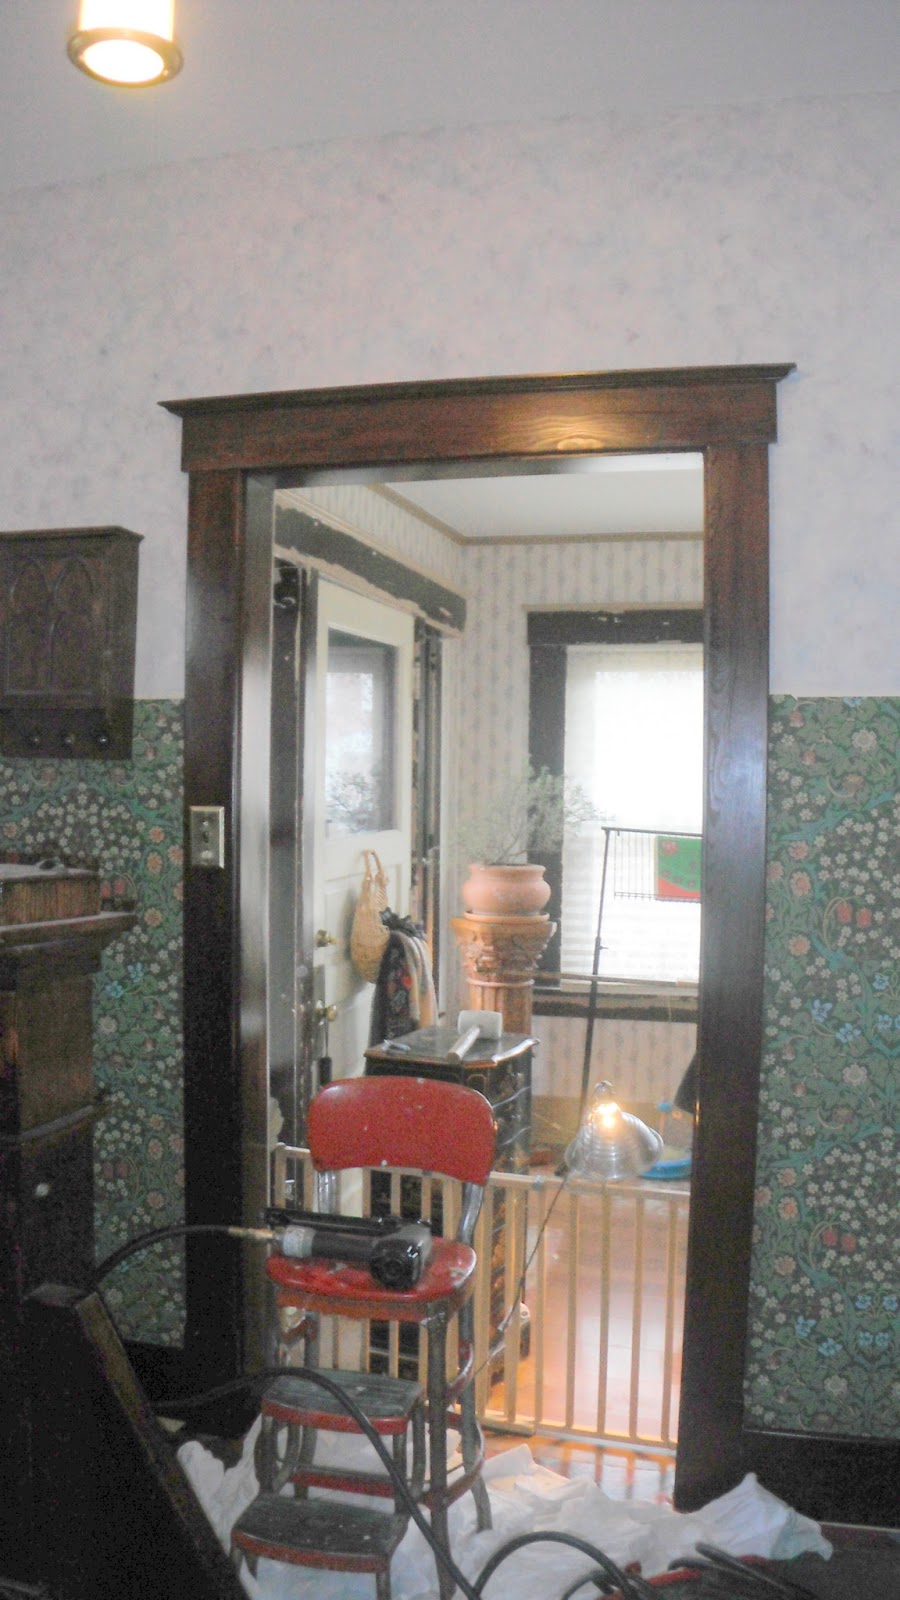
Then came a step that I really should get excited about. Wasn't excited Wednesday night, but I guess I'm getting there now. It's when I nailed together the replacement casing for the doorway to the kitchen and got it nailed into the ragged, nasty opening that's been taunting me for months and years on end.
 |
| New casing ready to rise |
 |
| This casing is the thickness of the wall, unlike its predecessor |
 |
| Warped at the bottom |
 |
| Blocked and shimmed into submission |
Other than that, Thursday and today, the jollification has been with the face trim in the northwest corner, between the portal to the living room and the doorway to the kitchen. It was a bit of a Chinese puzzle, how it was all supposed to go back together, and I was glad I took pictures back in 2008 when I took it down. There ensued a saga of blocking and shimming which I won't bore you with (though I have to say it amused me to be putting the original blocking back in, especially the pieces I used to test shellac colors).. Some of it had to be done twice in the same place, when I realized (in time, thank God) that what the woodwork needed for proper reassembly was not notching and cutting and trimming, but a bit more blocking and shims behind a piece I'd already nailed up.
(Gimme that pry bar, will you?)
 |
| 2nd attempt. This butt joint was really off before. |
 |
| Finally together |
So finally the vertical pieces are back up in the northwest corner, left of the kitchen doorway.
Not so the jamb trim on its righthand side. It's overlapped by the nosing of the hall bench, and a notch was put in in days of yore so the trim could slide in between the bench nosing and the wall. But when I test-fitted it, the trim sat a quarter of an inch too high. In relation to its plinth, in relation to the head casing, in relation to the jamb trim to the left side of the doorway. Weird. Had no compunction about taking the Dremel and bringing the notch the required distance higher. This piece of trim is presently down on the basement sawhorses in the process of receiving a few coats of shellac on the enlarged notch.
 |
| Enlarged bench notch in progress. Dremel battery needed to recharge |
 |
| A little retrograde motion |
Well, easier and less destructive until I cracked the board down the middle prying it off. I'll do my best to hold the pieces together and put it back up as is. If I have to glue or fasten them, I'll ruin the shellac job.
That's all for tonight. Once I get that jamb trim up, it really would be nice to get the lintels up. The lack of them is what has been so glaring from the neighbors' porch. But the way the cornices are mitred together, it may take an extra pair of hands. Or two.
3 comments:
Oh. My. Gosh. It's amazing to me that you can do that yourself. I'd have the whole thing ruined in no time. It's looking so good! I wholeheartedly agree with working only until you're tired or feel like you want to scream--the stuff will still be there tomorrow or whenever you get back around to it.
Well, if you're not excited, I'll be excited for you. Reinstalling my trim is in the far distant future, so I'll just sit here and enjoy yours.
Beautiful! Did you remove ALL the trim in the house? How long did it take to sand and refinish everything and what products did you use? I have removed quite a bit of trim from my 1st floor. Like yours, it's been like this since 2008. One day I want to have a normal looking house again.
Post a Comment