Wednesday, March 30, 2011

Trumpets (But with Mutes)

Yesterday, Tuesday, 29 March 2011, was a momentous day here at the Sows' Ear.  For on that day, after half a week of taping and masking, I finally laid on the first coats of shellac on the woodwork of my 2nd and 1st floor halls.

(Can I get a dish of applesauce here?)

This is the first week I've had evenings off since the end of January, when I started working front desk at Dick & Harry's Tax Service.*  Initially I was merely going to wipe everything down and do the shellacking Later.  But it hits me that dust has a tendency to resettle, especially with four furry animals in the house.  So some finish application was in order.

Started with a clear coat of Kusmi #2 on the doorway to the 3rd floor and to the former entryway downstairs.  I'd noticed on samples I'd made that the tinted shellac shows up better when it goes on over a clear coat instead of wood that's clean sanded.  

Doorway to Study stairs, 2nd floor

On this 2nd floor doorway you can see where the paint soaked in behind where the old stop moulding used to be.  I tried sanding it out, but it was too deep. Will the tinted shellac cover that?  I hope so.

Here's the doorway between the 1st floor hall and the front room partly clearcoated.  The camera makes the color look more intense and orange than it was.

Old entry door, 1st floor
Then the same untinted Kusmi #2 on the sanded sill between the 1st floor hall and the living room.

Cased opening sill

My initial idea was that I'd let these coats dry overnight and do the tinted shellac today.  But I'd forgotten how quickly shellac dries.  So what the heck, why not?

Started at the top, with the risers of the stairs to the 3rd floor.  These still have patina on them, and didn't need an initial clear coat.

3rd floor stair risers, partially done


  Then the rest of the risers, the casing, and the bottom end of the stringer.
1st coat shellac, 2nd floor hall


 Then the hall side of the door casings to the guest bedroom, the bathroom, and the hall closet.

And the curved baseboard and the 2x frame around the 2nd floor hall window.

Since I was rolling with it, I proceeded to do the upstairs newel post, the oak stair bannister and shoe, the 1st floor newel, the frame around the downstairs hall window, the doorway between the hallway and the front room, the sill between the hall and the living room, and the moulding that sits on the wall over the hall bench, under the bannister shoe.  Then I came back up and laid a coat on the main stair tread and on the pine stringers either side of the main stairs.  Drew the line at shellacking the hall bench, since it still had the protective paper on it and I hadn't cleaned underneath it.


Looking down from the 2nd floor


I don't have pictures of all this wondrousness, because my stoopy camera eats batteries like I should drink water, the ones I had in were dying, and I had no more in the house to replace them.  (Last time I'll buy a camera that takes AAs, believe you me.)  But maybe that's just as well, since I was shellacking without a worklight, deliberately.  The plan was that if I worked by natural light only I wouldn't get too fussy about making the first coat perfectly even, but leave it to the next coats to blend it all in.

Blotchy mess!
But as you can see from this very blurry shot I took today (no battery power left to use the flash), maybe that wasn't such a--ahem!--bright idea.  What a blotchy mess, and this doesn't show the half of it.

The saving grace is that the successive coats of shellac should blend it in, though it'll probably take a clear coat or two to accomplish that.

The color isn't as dark as it shows up in the photos.  But I doubt I'll make it as walnutty-dark as it was originally.  I want the reddish warmth and the grain to come through.

Wednesday, February 9, 2011

While I Was at It

While I was patching and filling and sanding doorways last month, I was also up to a thing or two more.

One that I can be pleased and relieved about:  On the 14th I got the sill to the opening between the 1st floor hall and the living room filled and resanded.


(Yeah, there's still tons to do)
The other thing, which I perpetrated the day before, was definitely nothing to brag about.  I got myself tangled up in my grandma's old floor lamp that I was using as a work light and sent it crashing into the bottom step and broke the brand-new three-way light bulb and the globe.  Yes, it's all replaceable, but why put myself into the position to have to spend the money? 


And I can't get this photo to stay rotated.

Alas, alas!

Monday, February 7, 2011

Mortise Patching Exploits

Okay, here are the photos from January 11th and following I promised a few days ago.  (Note to me:  Don't load too many photos at once into Blogger.  It's nigh-impossible to wrangle them into the correct order).

The job was to fill the old hinges and strike mortises in casings where doors had been removed.  I don't know why I stressed over the job and put it off for so long.  When it came down to it, it was really no big deal.

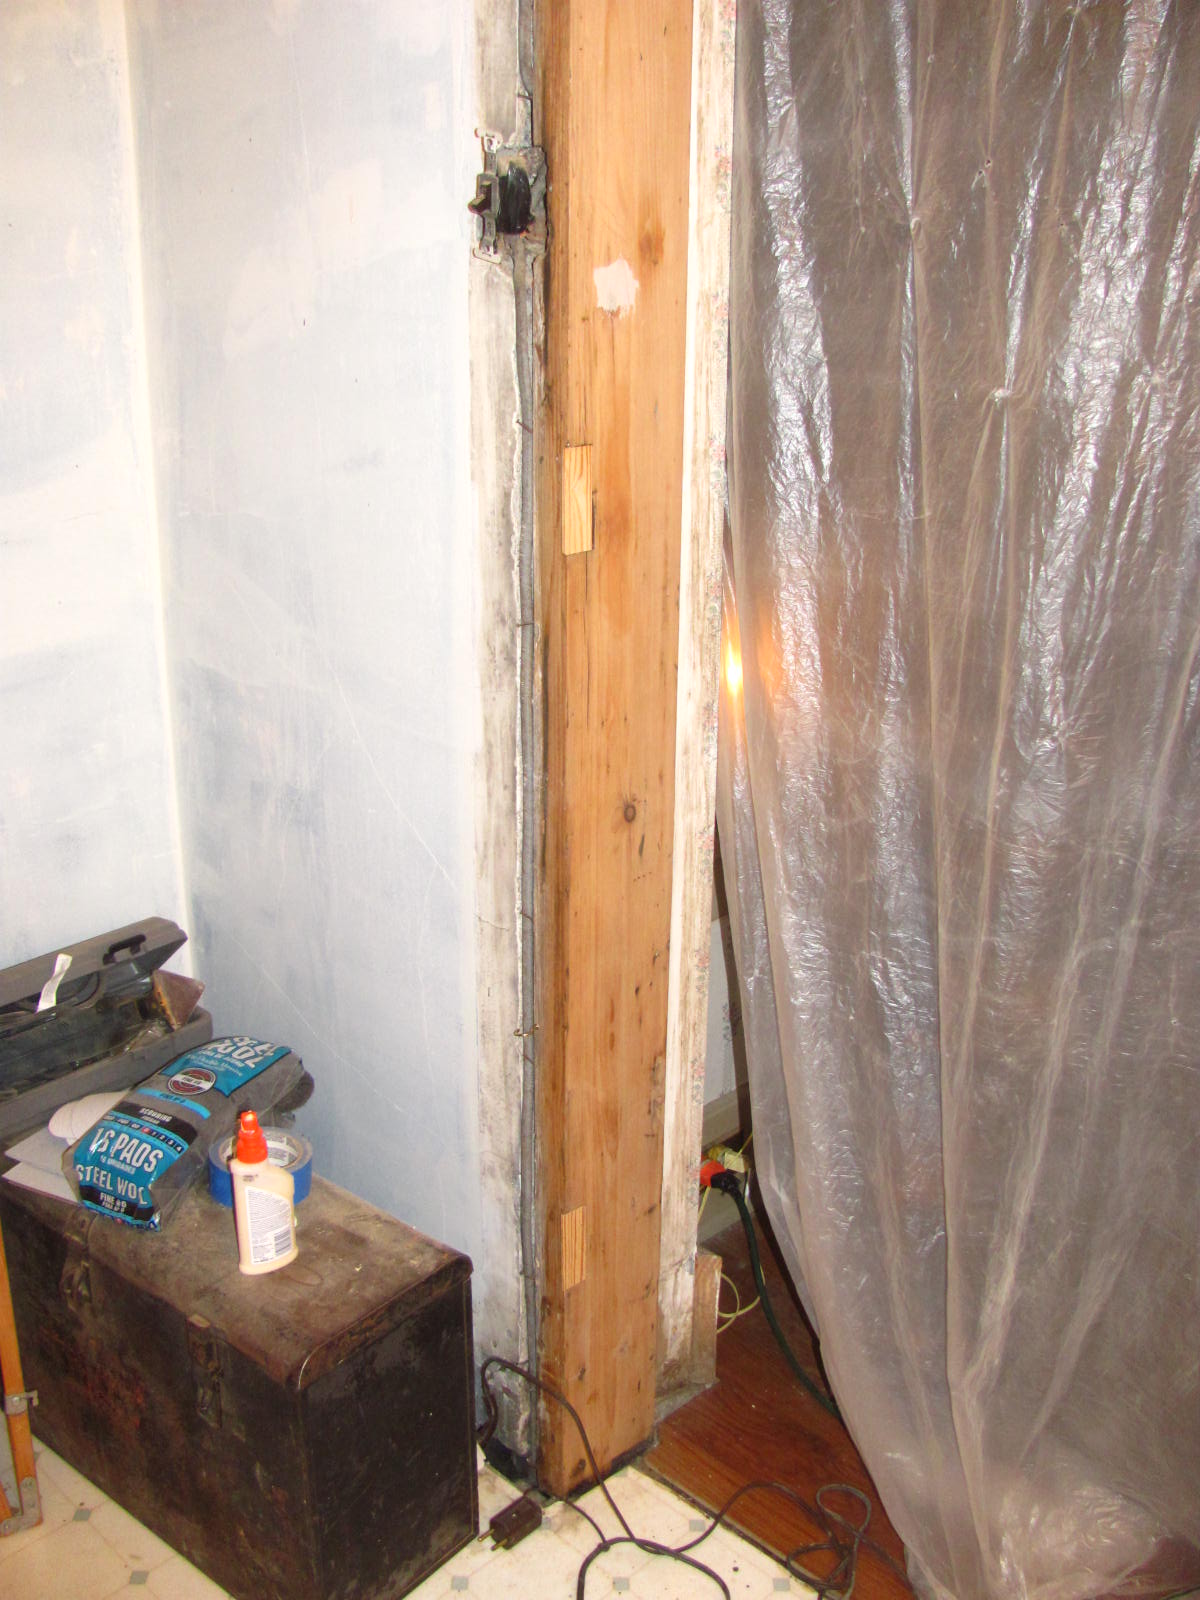
First I tackled the doorway between the 1st floor hall and the front room.  This used to be the front door of the house, but the door was removed when the porch was converted to a front room, and the mortises were covered up with ¼" thick pieces of plywood, which my PO-2 shellacked to match the rest of the woodwork. I tried stripping one of those a couple years back and said, No more.  The old door casing was good enough for me.

I started with the mortises, with pieces of original yellow pine cut from an old disused floorboard, glued in proud:
Top hinge mortise patched


Middle & bottom filled proud
Bottom hinge-side patch.  Almost right depth as-is


Old Entry Door Strike Mortise


Then I did the same for the strike.  Here's what it looked like Before.  (I knocked out the piece at the upper right to avoid having to make any fancy cuts.)

Mortise Patch Glued In


Same again, with the rough patch for the strike mortise glued in.  Note how shallow the mortise is.  No way I'm risking my fingers to cut a patch that thin on the table saw.

Then I moved operations upstairs.  This is the doorway to the third floor stairs.  Evidence shows that there was no door there when the house was first built (they had to hack away the bullnose on one of the treads to accommodate it), but it's also apparent that a door had been there for a very long time.  Not sure if it was the same owner who took it down and filled the mortises with pieces of characterless white pine, but I knew they'd glare if I let them remain.  So they'd been out ever since I stripped that doorway (mumble, mumble) years ago, and if I had a ton of money, I would have had a true-divided-lite, tempered-glass door custom made and rehung there.  But that ain't the way things are, so these mortises were dealt with next.

(When I'm rich-- HA!!-- I can always knock out the patches and put my dream door up then.)

Strike mortise that needs filled


Bottom mortise rough-filled
On the hinge side you can see where the POs marked the wood to position the hinge.

I really wish I could have found some old wood to match the existing grain, but I had to settle for what I had.  Hopefully, the shellac will even everything out.


 Here's the strike patch glued in, with some extra help until it dries.
Door to 3rd floor, strike side
Old screen door rabbet
But one more thing needed to be done before I could leave all the glue to dry.  There was the matter of the holes left in the trim of the former entry door when the original screen door was relocated, sometime in the early 1930s.  I'd had ideas of taking wood filling and sculpting it somehow to match the curves in the trim, but I wasn't quite sold on the idea.  But wait a minute.  Didn't I have some long pieces of old yellow pine the right thickness, left over from cutting strips to fill in the 2nd floor hall flooring?  Yes!


That worked, and with a little wood filler daubed on to simulated the curves, I pronounced it Good Enough for one evening's work.


3rd floor stairs, hinge side, planed
Next day, I  took my grandpa's antique plane and smoothed the patches down.  Really, the realization that I could use it was what got me past the brain-freeze and procrastination.  Before, I'd been sure there was no way I could cut fiddling pieces of wood like that to any accurate thickness, but plane, plane, plane, and the difficulty (and the extra wood) was removed.

Old entry doorway, hinge side, filled


Then lay in wood filler to close up the gaps.


Old entry, strike patch sanded


Old entry, hinge side sanded


 Day after, the downstairs doorway got sanded.

Old entry, hinge patch, fine-sanded
Old entry, strike patch, fine-sanded


Then filled some more, and sanded again.


If your eyesight is bad as mine, the patches can hardly be seen!


Wood filler galore
Nice and sanded
Strike side
This still left the upstairs patches to fill and sand and finish off.  That didn't happen till the evening of the18th and early on the19th.


When you tap on the piece over the old strike mortise, it definitely sounds hollow.  Don't care to think how thin it is, now it's sanded down.  But it's flush, and it'll do.


Here we are in the 2nd floor hall, with all the mortises filled and most of the tape off the stairs.  And that's enough for now.


Saturday, February 5, 2011

No, the House Hasn't Eaten Me. Yet.

Have I been working on the house?  Yes.  Have I been working on the house as quickly as I ought to? No.

I had two doorways to patch where doors were removed, at the old entry door between the front room (former porch) and the stairhall, and at the bottom of the stairs to the third floor.  A couple weeks ago I cut old yellow pine to fit the hinge and strike mortises, planed them down, and sanded all round the casings.  They look nice, but pictures will have to wait-- I loaded them onto the other computer.

Sadly, there are no new shellacking pictures.  That's because I haven't laid on any new shellac.  I'm still cleaning up the dust mess, and the work is going very slowly.

First, because I'm changing Internet service providers and I'm dealing with the whole old-new e-mail address transition.

Second, because cleaning my Study meant more than sucking up the dust, it also meant going through my books, rearranging many, retiring some to the storage space, selecting some to give away, and even chucking a few.

And third, it's going slowly because I don't like deep cleaning the house, and I keep putting it off.  It's so much more fun to watch on-line videos that actually stream thanks to my new, faster ISP.

But as soon as I publish this post, I'm going upstairs to clean my bedroom.  The curtains and dust ruffle, which were filthy, are clean and dry down in the dryer, and until the room dust is gone and I can put them back, there's no going to bed for me tonight.

Tuesday, January 11, 2011

The Baby Has Arrived!

Fourteen of them, actually.

Early in the morning this past Saturday.

. . . in case you think I'm suddenly running a foundling home or have been invaded by the offspring of particularly fecund kinswomen, I'd better explain.

The websites explaining how to sand down your floors for refinishing consistently say it's a three-step process:  rough sanding, medium sanding, and fine sanding.  And, if I may quote, after the fine sanding the wood "should be as smooth as a baby's bottom."

Well, when it comes to the fourteen treads of my main staircase, the baby has arrived.  The rough places that could be sanded down have been sanded down, and the holes and dings that were too deep to sand down have been filled.  Tackled them with the 80-grit paper (medium) last Monday and Thursday, and had at it with the 120-grit this past Friday night.  So this stage is done, done, done.

I think the nosings came out well enough.  Most of them had to be rerounded, due to hard wear.  Trickiest thing is keeping myself from being deceived by the work light into mistaking a wood grain line for an edge that needs more knocking down.  I didn't touch the nosings with the 40-grit paper, oh, no.  80 and 120 only, and finished off with some sanding sponges I forget the grit rating of, but which helped me create a consistent curve.

(And concerning this picture of the bottom tread nosing:  No, it's not Perfectly Clean.  But it's clean enough for the seven coats of shellac it's going to get.  And it's a heckovuhlot cleaner and better than it was in July of 2007 when I removed the carpet and revealed what you see in this post.  Scroll down five photos and blast your eyes with that!)

After the sanding was finished, I gave the stairs a quick vacuuming and a go-over with a tack cloth, then put the cardboard tread protectors back and at around 3:00 AM went to bed.  No reno work to speak of accomplished over the weekend-- I had other things to do.  But on today's agenda is cutting thin strips of wood to fill in the hinge and strike mortises in two of the stairhall doorways that used to have doors but now don't.  The mortise routings were filled or covered up before, but not in a way that would take an natural finish.

Wish me luck at not slicing my fingers while I'm at it!

Sunday, January 2, 2011

Filling Holes

Just to prove I continue to make progress, here are my stairs with the holes I filled yesterday.


I hope to get the treads medium-sanded tomorrow.  No excuse not to, even if I do get called in to work.

But here's something scary:  When I was cleaning up the dust on the stairs and bannister rail yesterday, I noticed I had cracks in my wall plaster at the point where the wall opens up to the downstairs hall and the downstairs ceiling comes in.  That place was really bad a year and a half ago, and I put a lot of work into pulling up the plaster and spackling the cracks.  Now I have this three-way hairline in the faux finish paint job.

Carp.  I don't know if it's the plaster or the spackle.  Either way, can't things just stay fixed?

Friday, December 31, 2010

That's Done, at Least!

Look at that.  Isn't it pretty?

Fourteen stair treads, all rough-sanded.

Yes, they need lots of filling, then a go with the medium and then the fine grit.  But the old dirt and grime and roughness is off.  It's gone.

And it's still 2010.

In which case, I'm hitting the Publish button and going to go party.

See you next year!