Okay, here are the photos from January 11th and following I promised a few days ago. (Note to me: Don't load too many photos at once into Blogger. It's nigh-impossible to wrangle them into the correct order).
The job was to fill the old hinges and strike mortises in casings where doors had been removed. I don't know why I stressed over the job and put it off for so long. When it came down to it, it was really no big deal.
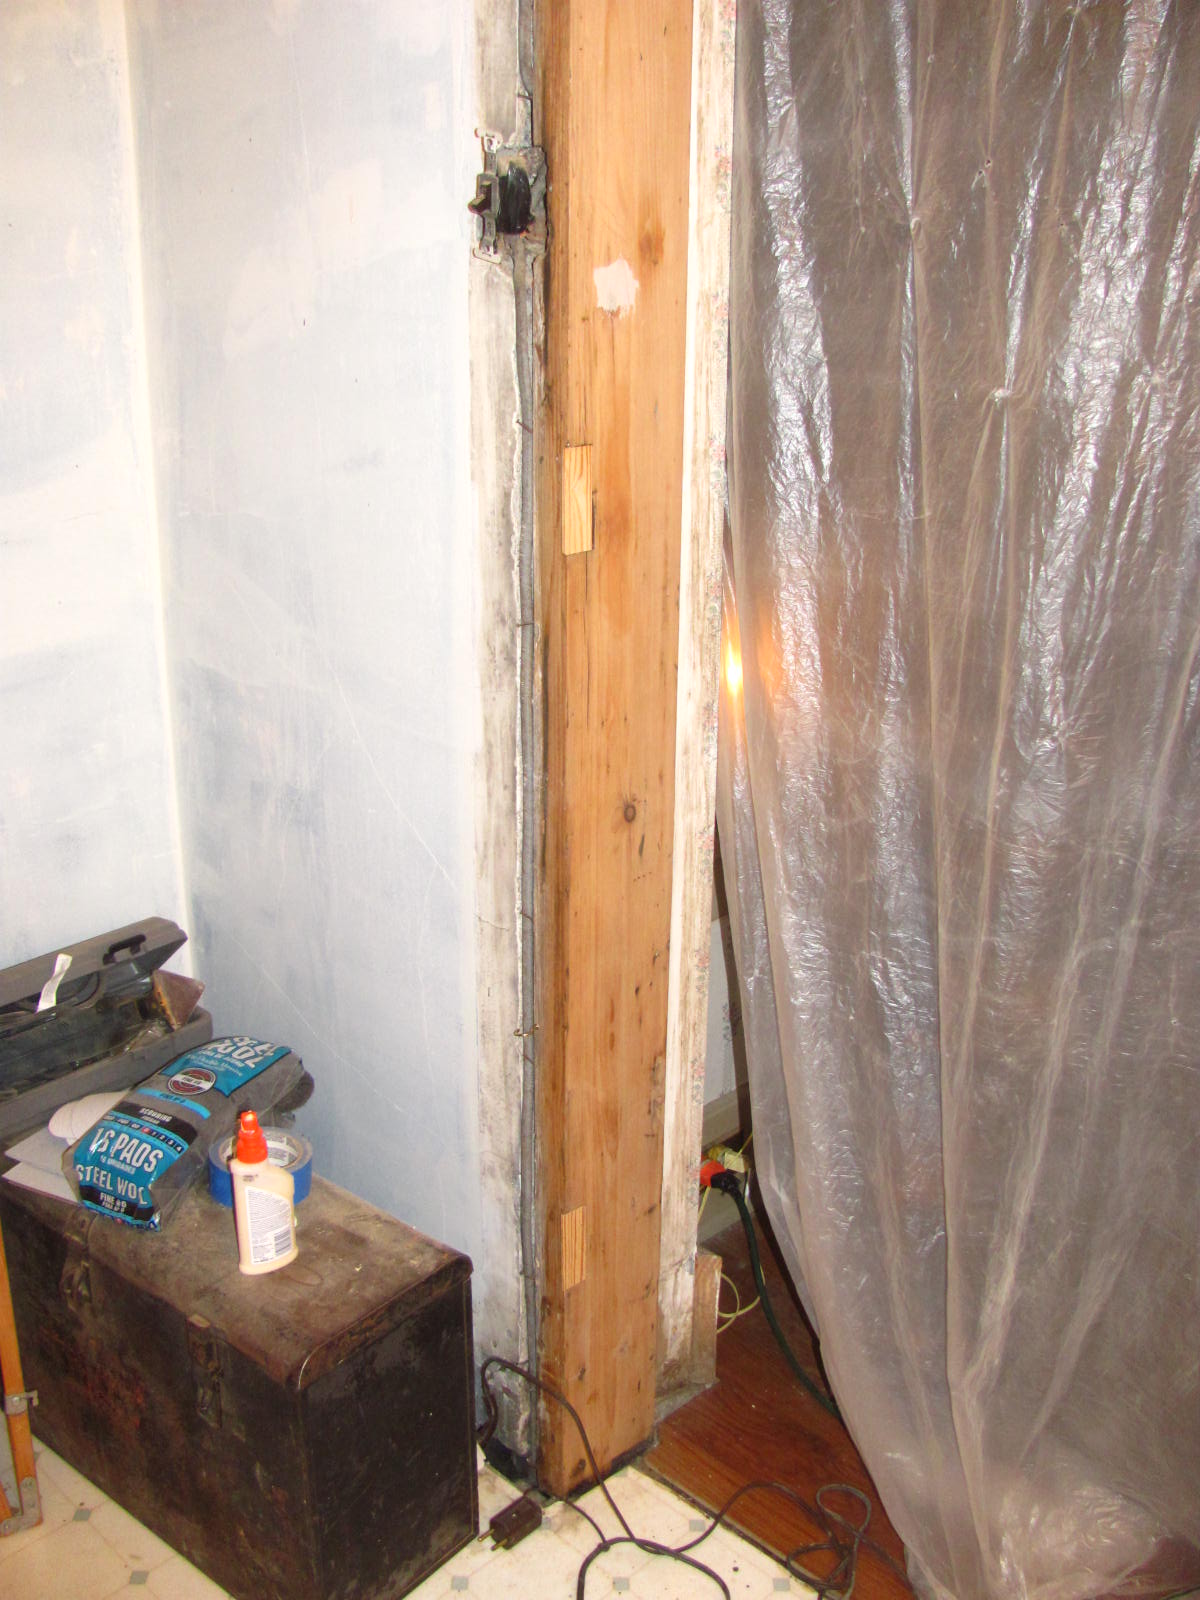
First I tackled the doorway between the 1st floor hall and the front room. This used to be the front door of the house, but the door was removed when the porch was converted to a front room, and the mortises were covered up with ¼" thick pieces of plywood, which my PO-2 shellacked to match the rest of the woodwork. I tried stripping one of those a couple years back and said, No more. The old door casing was good enough for me.
I started with the mortises, with pieces of original yellow pine cut from an old disused floorboard, glued in proud:
 |
| Top hinge mortise patched |
 |
| Middle & bottom filled proud |
 |
| Bottom hinge-side patch. Almost right depth as-is |
 |
| Old Entry Door Strike Mortise |
|
Then I did the same for the strike. Here's what it looked like Before. (I knocked out the piece at the upper right to avoid having to make any fancy cuts.)
 |
| Mortise Patch Glued In |
|
|
|
Same again, with the rough patch for the strike mortise glued in. Note how shallow the mortise is. No way I'm risking my fingers to cut a patch that thin on the table saw.
Then I moved operations upstairs. This is the doorway to the third floor stairs. Evidence shows that there was no door there when the house was first built (they had to hack away the bullnose on one of the treads to accommodate it), but it's also apparent that a door had been there for a very long time. Not sure if it was the same owner who took it down and filled the mortises with pieces of characterless white pine, but I knew they'd glare if I let them remain. So they'd been out ever since I stripped that doorway (mumble, mumble) years ago, and if I had a ton of money, I would have had a true-divided-lite, tempered-glass door custom made and rehung there. But that ain't the way things are, so these mortises were dealt with next.
(When I'm rich-- HA!!-- I can always knock out the patches and put my dream door up then.)
 |
| Strike mortise that needs filled |
 |
| Bottom mortise rough-filled |
On the hinge side you can see where the POs marked the wood to position the hinge.
I really wish I could have found some old wood to match the existing grain, but I had to settle for what I had. Hopefully, the shellac will even everything out.
Here's the strike patch glued in, with some extra help until it dries.
 |
| Door to 3rd floor, strike side |
 |
| Old screen door rabbet |
But one more thing needed to be done before I could leave all the glue to dry. There was the matter of the holes left in the trim of the former entry door when the original screen door was relocated, sometime in the early 1930s. I'd had ideas of taking wood filling and sculpting it somehow to match the curves in the trim, but I wasn't quite sold on the idea. But wait a minute. Didn't I have some long pieces of old yellow pine the right thickness, left over from cutting strips to fill in the 2nd floor hall flooring? Yes!

That worked, and with a little wood filler daubed on to simulated the curves, I pronounced it Good Enough for one evening's work.
 |
| 3rd floor stairs, hinge side, planed |
|
Next day, I took my grandpa's antique plane and smoothed the patches down. Really, the realization that I could use it was what got me past the brain-freeze and procrastination. Before, I'd been sure there was no way I could cut fiddling pieces of wood like that to any accurate thickness, but plane, plane, plane, and the difficulty (and the extra wood) was removed.
 |
| Old entry doorway, hinge side, filled |
Then lay in wood filler to close up the gaps.
 |
| Old entry, strike patch sanded |
 |
| Old entry, hinge side sanded |
Day after, the downstairs doorway got sanded.
 |
| Old entry, hinge patch, fine-sanded |
 |
| Old entry, strike patch, fine-sanded |
Then filled some more, and sanded again.
If your eyesight is bad as mine, the patches can hardly be seen!
 |
| Wood filler galore |
 |
| Nice and sanded |
 |
| Strike side |
This still left the upstairs patches to fill and sand and finish off. That didn't happen till the evening of the18th and early on the19th.
When you tap on the piece over the old strike mortise, it definitely sounds hollow. Don't care to think how thin it is, now it's sanded down. But it's flush, and it'll do.
Here we are in the 2nd floor hall, with all the mortises filled and most of the tape off the stairs. And that's enough for now.


